
Menu
Microbots
0
  • Learn
    • Getting Started
    • Maker Builds
    • Education
  • Shop
    • ProtoBot
    • Wavelit Display
    • Modules & Parts
    • Tools & Gears
    • Coming Soon
  • About
    • Our Story
    • Reach Out
    • FAQs
  • Sign in
  • English
  • Your Cart is Empty
Microbots
  • Learn
    • Getting Started
    • Maker Builds
    • Education
  • Shop
    • ProtoBot
    • Wavelit Display
    • Modules & Parts
    • Tools & Gears
    • Coming Soon
  • About
    • Our Story
    • Reach Out
    • FAQs
  • Language

  • 0 0

ProtoBot Functions

The ProtoBot Arduino Library makes it easy to control your robot with just a few simple functions. Whether you want to drive in a straight line, draw geometric shapes, change the eye color, or react to sensor data, the library provides beginner-friendly functions that hide the complexity of motor control and sensor fusion.

At the heart of ProtoBot is the CodeCell C6 Drive, a tiny robot brain that combines an ESP32-C6 microcontroller, 9-axis IMU, battery charging, proximity sensors, and dual motor drivers into a compact module.

Core System Functions

void Init();
bool Run(uint8_t loop_timer);
void PrintLog(char *message);
  • Init() initializes the motors, sensors, and internal systems.
  • Run() provides a timed execution loop for cleaner code.
  • PrintLog() sends debug messages and sensor values to the MicroLink App.

Example

#include <ProtoBot.h>

ProtoBot myProtoBot;

void setup() {
  myProtoBot.Init();
}

void loop() {
  if (myProtoBot.Run(10)) {
    myProtoBot.PrintLog("Hello from ProtoBot!");
  }
}

Motion Control

void Drive(uint8_t speed, float angle);
void Rotate(float rotate_angle);
void Stop();
void SetSpeed(uint8_t level);
  • Drive(speed, angle) moves the robot in any direction.
  • Rotate(angle) turns the robot in place.
  • Stop() immediately stops both motors.
  • SetSpeed(level) selects a predefined speed level.

Drive Parameters

  • speed: 0–100%
  • angle: 0–360°

Example

myProtoBot.Drive(80, 0);     // Forward
myProtoBot.Rotate(90);       // Rotate clockwise
myProtoBot.Stop();           // Stop all motion

Path Shape Movement

void DriveSquare(uint8_t speed_level, uint8_t shape_size, bool loop);
void DriveCircle(uint8_t speed_level, uint8_t shape_size, bool loop);
void DriveTriangle(uint8_t speed_level, uint8_t shape_size, bool loop);
void DriveInfinity(uint8_t speed_level, uint8_t shape_size, bool loop);

These functions demonstrate how combining forward motion and rotation can create geometric paths. They are great for learning sequencing and motion control.

Parameters

  • speed_level – e.g. SPEED_FAST, SPEED_INTERMEDIATE, SPEED_SLOW
  • shape_size – 1 to 100
  • loop – SHAPE_ONCE or SHAPE_LOOP

Example

myProtoBot.DriveSquare(SPEED_FAST, 50, SHAPE_LOOP);

LED Control

void EyeColor(uint8_t red, uint8_t green, uint8_t blue);

Controls the six front RGB LEDs used as ProtoBot’s eyes.

Example

myProtoBot.EyeColor(255, 0, 0);   // Red eyes
myProtoBot.EyeColor(0, 255, 0);   // Green eyes
myProtoBot.EyeColor(0, 0, 255);   // Blue eyes

Orientation Control

void AlignNorth(bool status);

Uses the onboard IMU to maintain a constant heading.

Example

myProtoBot.AlignNorth(true);

Sensor Functions

bool ReadTap();
uint8_t ReadBattery();
uint8_t ReadSpeed();
uint16_t ReadProximityFront();
uint16_t ReadProximityBase();
uint16_t ReadLightFront();
uint16_t ReadLightBase();
float ReadHeading();
void ReadMotion(float &roll, float &pitch, float &yaw);

These functions provide access to ProtoBot’s built-in sensors and user inputs.

  • Tap detection
  • Battery level (%)
  • Joystick speed (%)
  • Front and bottom proximity sensors
  • Ambient light sensors
  • Compass heading
  • Roll, pitch, and yaw angles

Example

if (myProtoBot.ReadTap()) {
  myProtoBot.EyeColor(255, 255, 0);
}

if (myProtoBot.ReadProximityFront() < 100) {
  myProtoBot.Stop();
}

Reading Motion Data

float roll, pitch, yaw;
myProtoBot.ReadMotion(roll, pitch, yaw);

Useful for creating balancing robots, tilt-controlled behavior, and gesture-based interactions.

Logging Data to the MicroLink App

myProtoBot.PrintLog("Obstacle detected");

Debug messages and sensor readings can be viewed directly in the MicroLink App.

Example Sketches Included

The /examples folder contains ready-to-run sketches demonstrating:

  • Square, triangle, circle, and infinity paths
  • Manual drive control with a joystick
  • Sensor-based reactions
  • External I²C displays and sensors
  • Wireless firmware updates (OTA)

Final Tip

The ProtoBot library is designed to be simple enough for beginners, while still exposing powerful functions for more advanced projects. Start by experimenting with the included examples, then combine movement, sensors, and LEDs to create your own robot behaviors.

Explore more examples and source code on the ProtoBot GitHub repository.

  • Share:

Follow

Github

  • About
  • Software
  • Education
  • Contact
  • FAQs
  • Terms
  • Refund Policy
  • Privacy Policy

Join our Community ~ Be the first to know about new products and get exciting deals!

© 2026 Microbots.

★ Reviews

Let customers speak for us

83 reviews
Write a review
87%
(72)
5%
(4)
2%
(2)
2%
(2)
4%
(3)
77
21
G
Experiment in Progress Mug
Gerald Kendrick

I am enjoying my Experiment in Progress coffee mug. It fits in well in the lab.

K
12-in-1 Screwdriver (Pen-Size)
Klaas

Very useful fun little screwdriver for the all tiny stuff

f
ProtoBot
frederic marty

I don't have much time right now to test the micro bot, but it looks good.

f
MotorCell
frederic marty

I don't have much time right now to test it but it looks good.

M
ProtoBot
Mehmed Muslija

ProtoBot has met all my expectations.
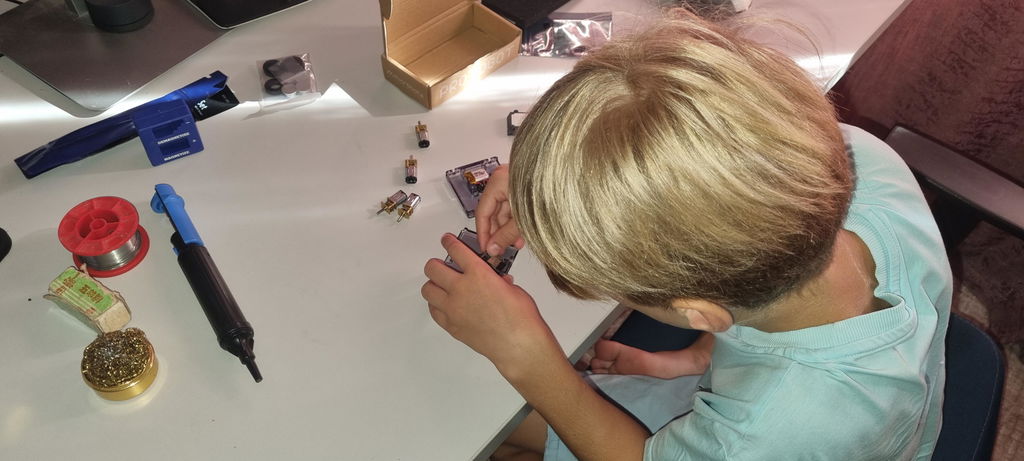
Watching one of the videos on YouTube, I thought it would be interesting and educational to make a small project for my 8 year old cousin. ProtoBot has provided a wide range of experiences and encouraged my cousin to take on new projects.
User picture
123